| ||||||
Grand Cherokee Project
"Basketcase" budget build up
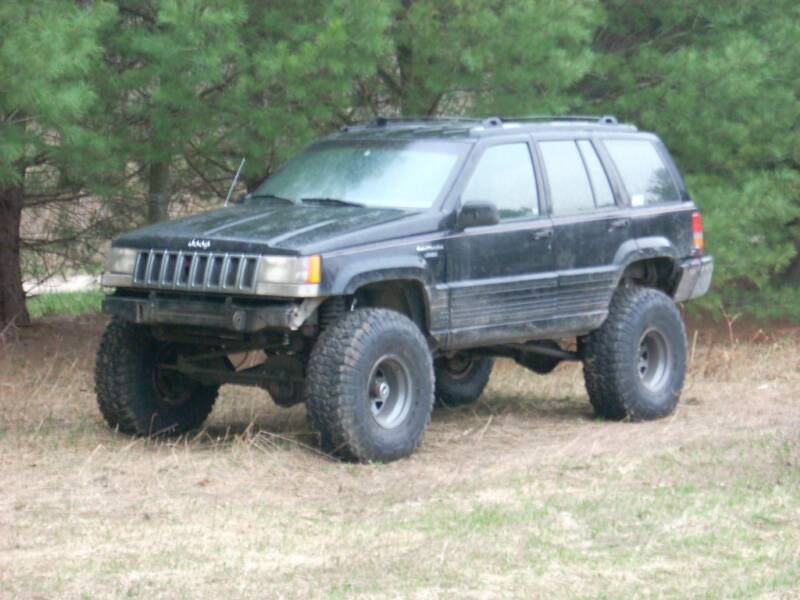
After
?
In the beginning...
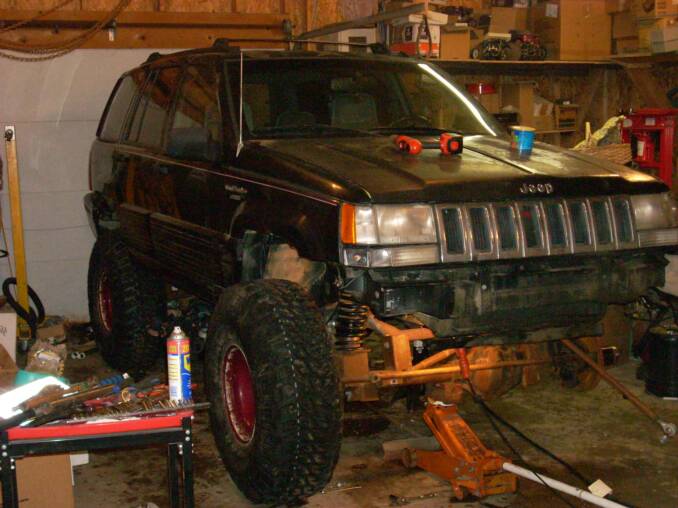
...it started out as a good deal on a 1994 V8 Grand Cherokee with a rebuilt tranny and some Wagoneer D44 axles that ended up being an even better deal after it spit it's rear driveshaft and knocking off the exhaust before it even go to the trailer. After looking over the truck and seeing just how "cobbled" together the suspension really was(in defense of the previous owner, he did tell me it was just a temp set up) there was no doubt it needed a complete revamp. But, which way to go? Bolt in a short arm kit and attach it to the D44s? Buy a really expensive long arm kit and totally kill the budget? Or build the suspension in house? Like any true wheeler, there was only one answer............ FAB IT!!!
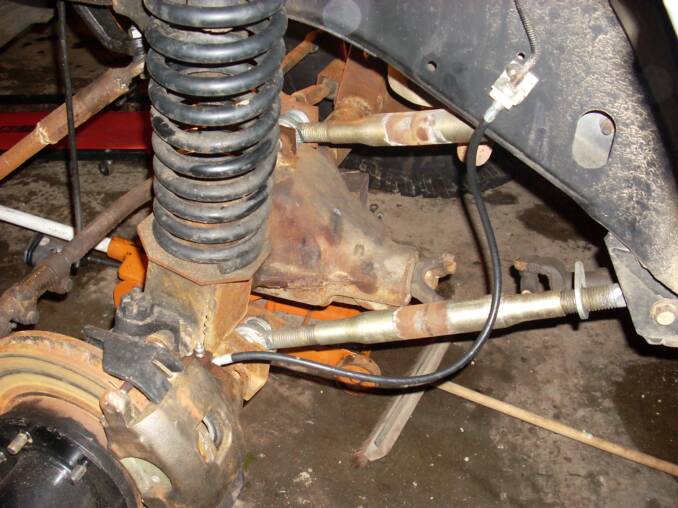
First task on the check list was to get the axles disconnected from the TSC tractor links. After pulling the contrl arm bolts (dropping all 50 of the washer/spacers) the brackets were torched off. Or, in the case of some of them, beat off with a 3lbs hammer.
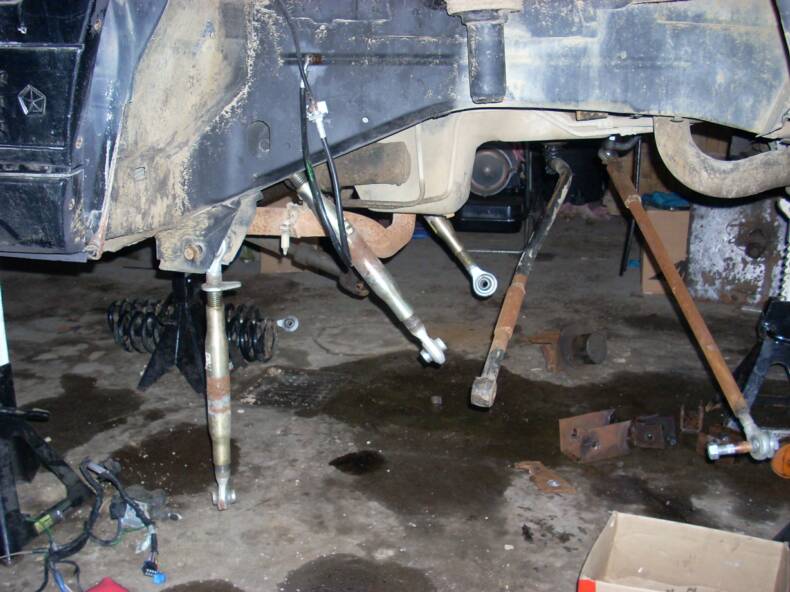
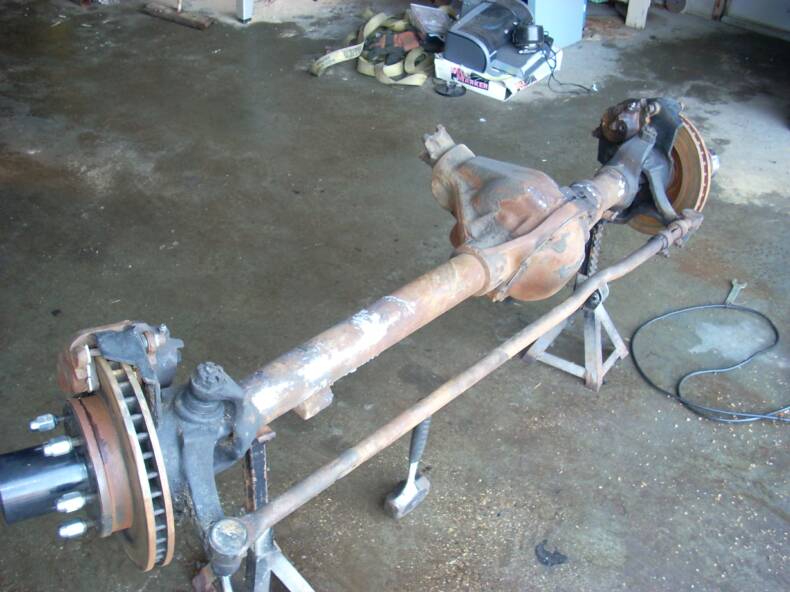
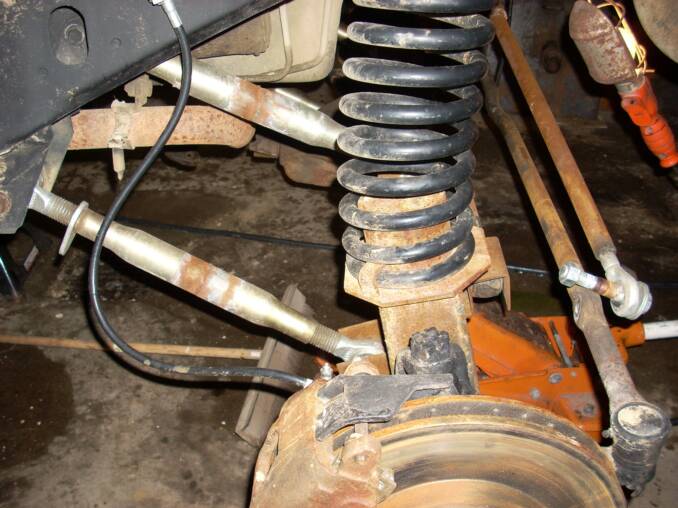
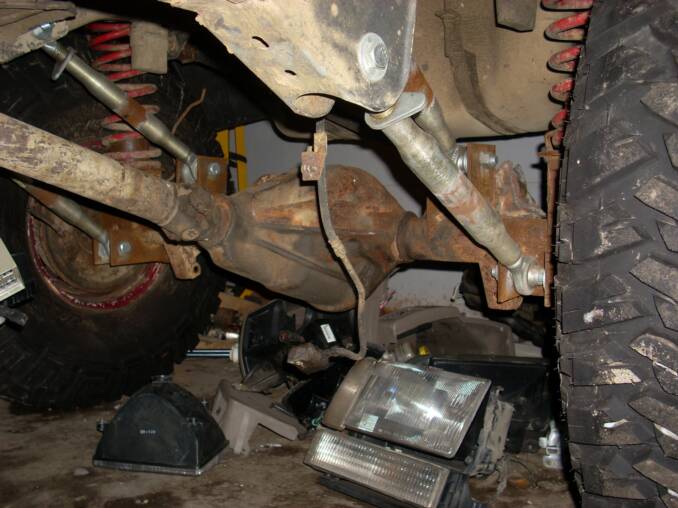
The front suspension was set up using a 3-link design. A 3-link coil sprung suspension uses a single control arm on one side of the axle, a radius type "Y" link on the other side to control axle roll, and a trac bar to stabilize the axles side to side movement. The simplicity of the design and ease of instalation make it one of the easiest link suspension designs to use. It works very well and articulates great with no binding.
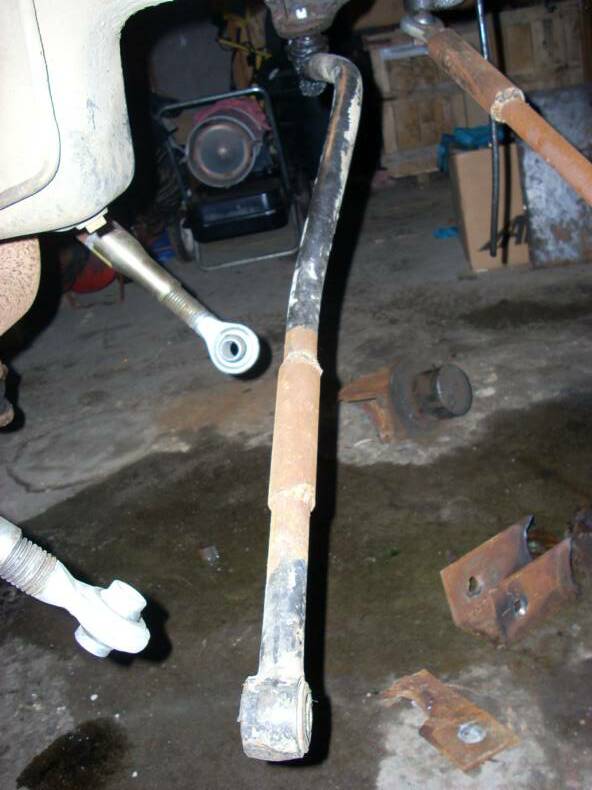
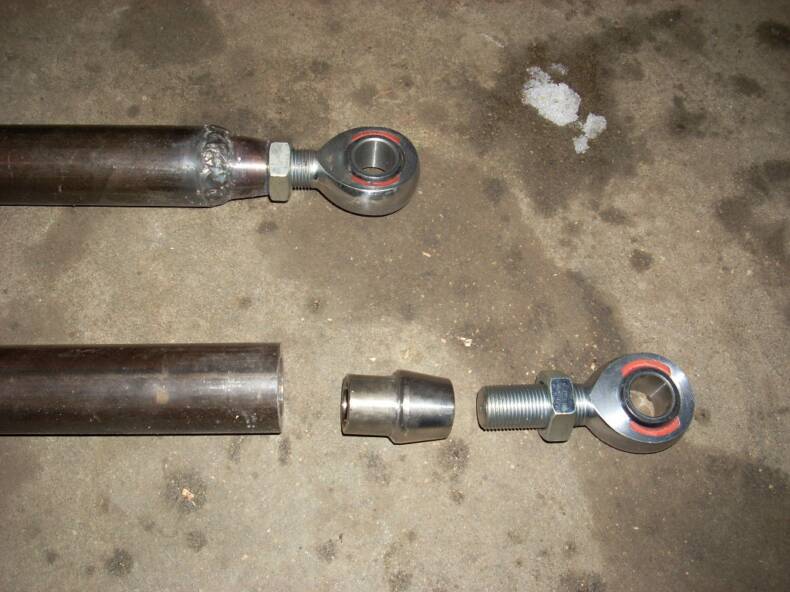
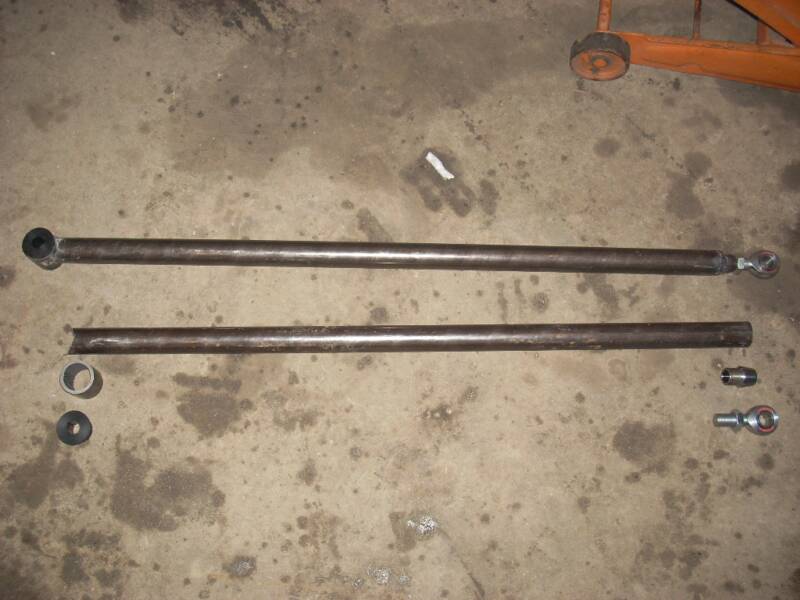
Both front lower arms were built using 1.5" DOM with 3/4" teflon lined chromoly heim joints at the body, while using poly bushings at the axle.
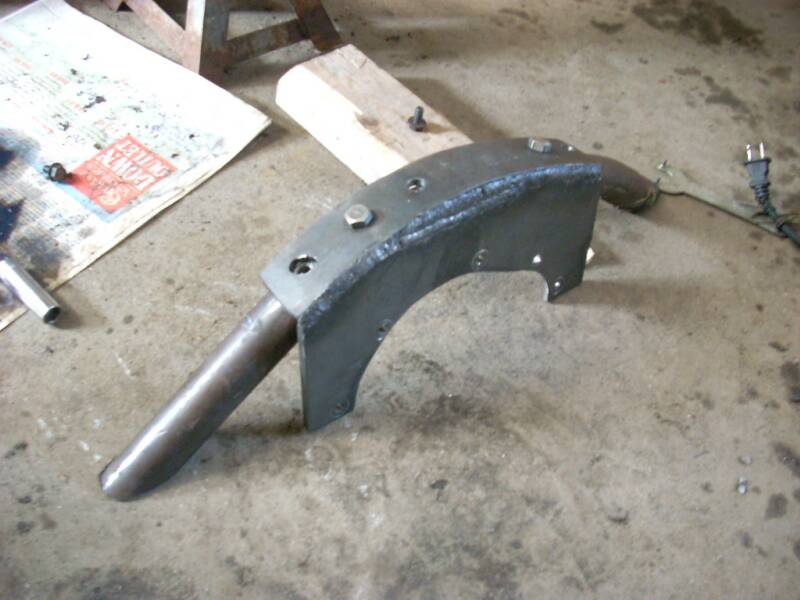
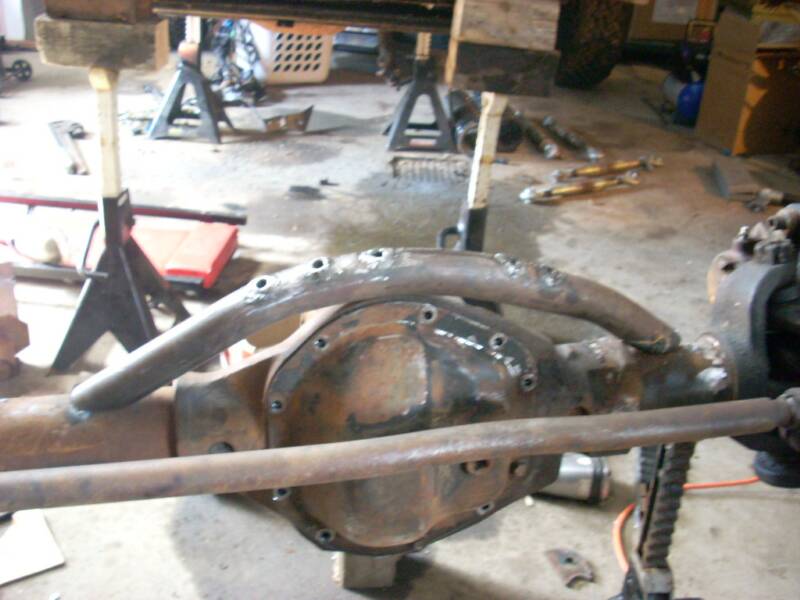
Even though some people say "just weld onto the diff" center section, and it can be done, it presents a series of problems. Welding to cast metal isn't easy when you aren't set up to do it. Sure you just burn a bunch of weld into whatever it is you are welding, but there is alway that wonder of when it will fail. So instead of risking a failed weld, an over hoop was designed for the 3rd link to connect to.
Sometimes time has to be spent cutting, grinding, fitting, re grinding to get everything to fit right. It takes a while, but it's worth it in the end when the finish product doesn't have to be remade or redesigned. So get out the cardboard, make some templates, and get it right the first time.
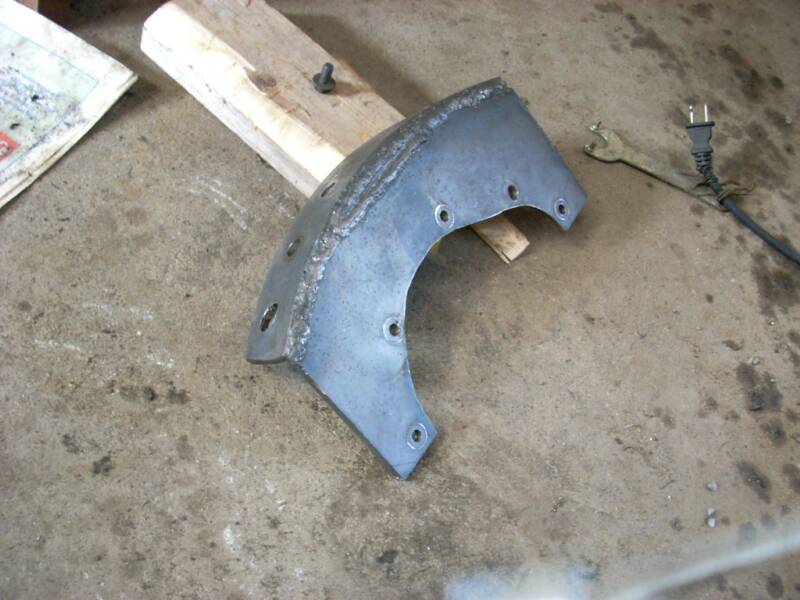
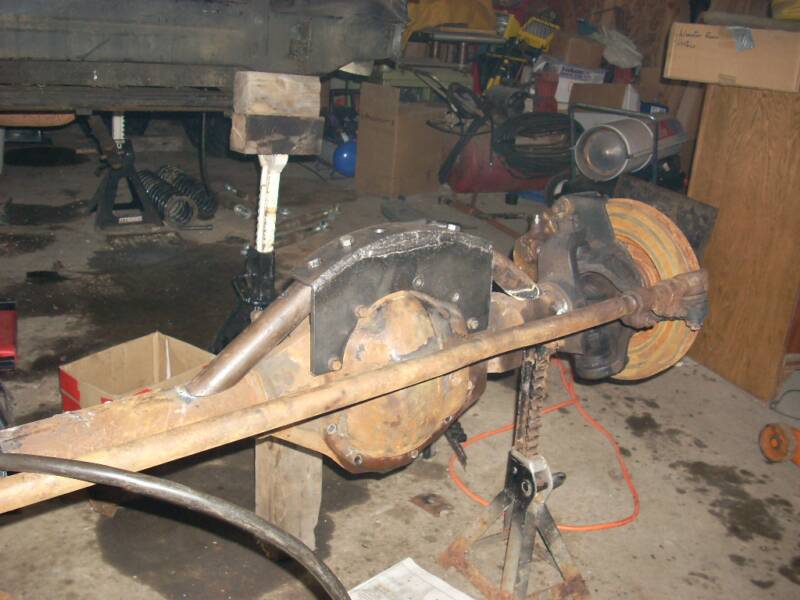
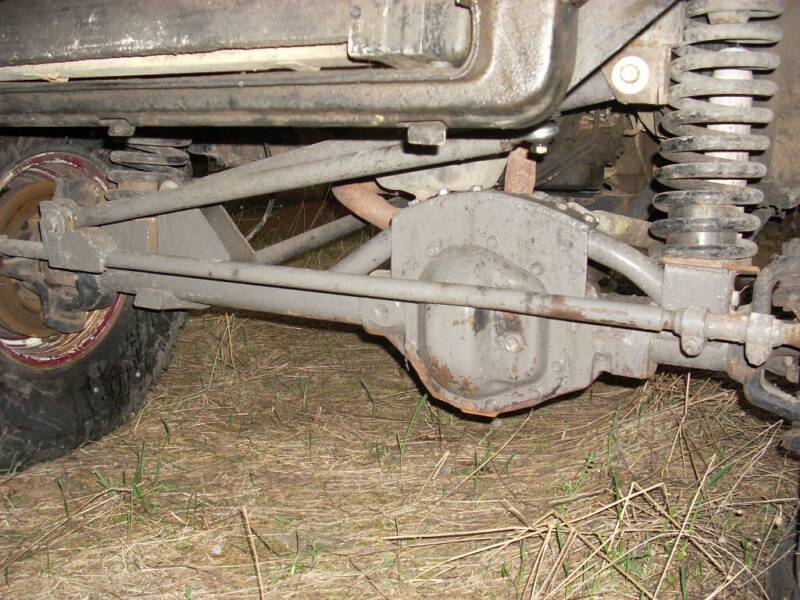
This connection must be very strong to take the forces being placed on it. I didn't like the idea of just welding a bent tube over the diff and attaching the 3rd link to it without something bracing the top of the diff. There is a lot of leverage here. These pictures show how I designed a plate to bolt to the top of the over hoop and into the top of the diff housing. This of course presented another problem in how to get the diff cover off for servicing. The only way to was to make the bracket removable. The pics speak for themselves.