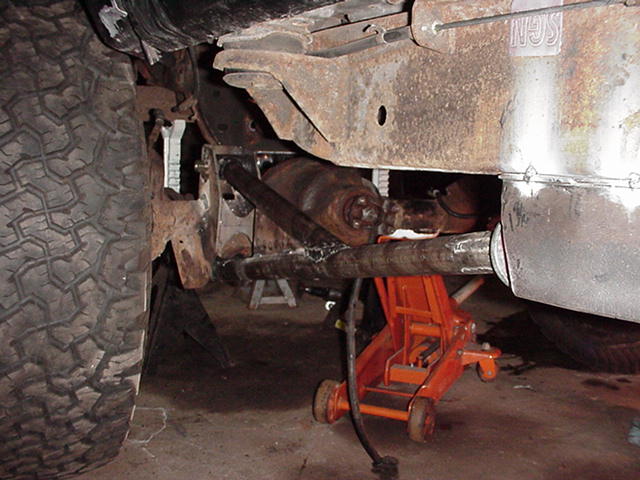
With the long portion of the radius arm mounted to the frame and the lower mount of the axle, the top half of the arm could be placed perfectly in position and tacked together before final welding.
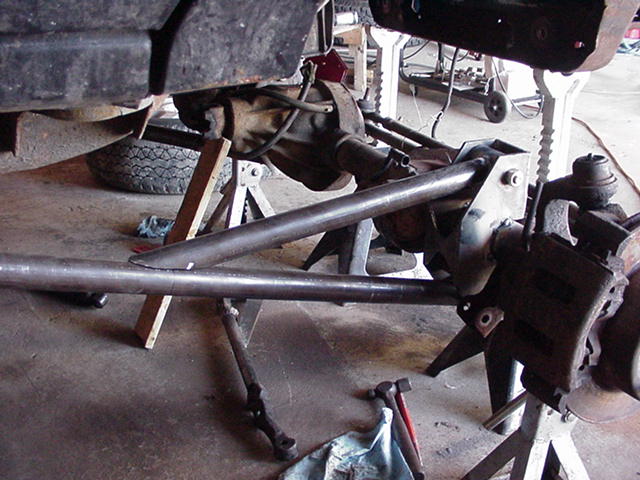
Before fitting the radius arms, the axle was placed in position using a plum bob to center it under the truck. Measurements were taken with relationship to the rear axle, then measured again, double checked, then triple checked! After quadruple checking to make sure the axle was in the right position and squared up, the radius arms were put in for mocking.
Welding complete of the upper and lower arms as well as a center brace to add rigidity to the "Y."
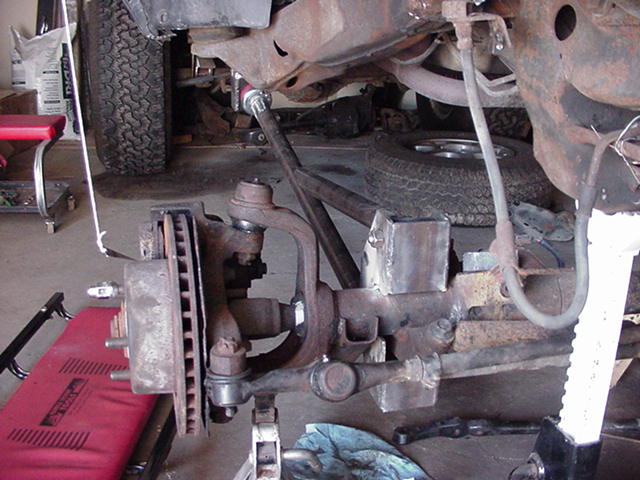
The radius arms were intentionally angled in to help in stabilizing the side to side motions of the front axle, much like in a 3 or 4 link suspension. The actual side control was accomplished with a custom built track bar(which I for some reason didn't have the foresight to take pictures of as I built it.)
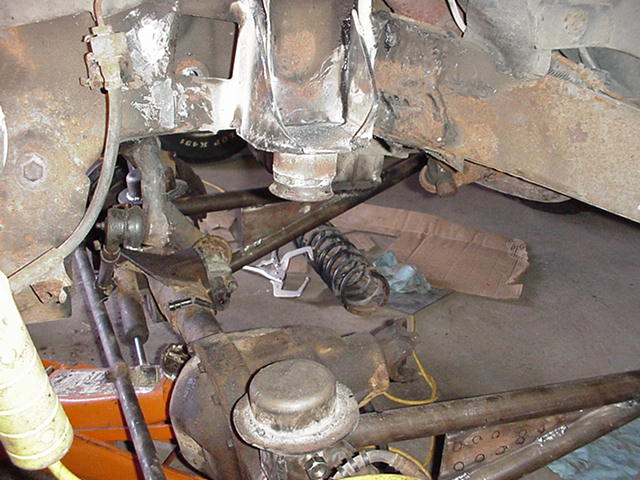
Now, with the axle actually mounted under the truck, the coil buckets could be built. On top of the control arm bracket sits a punched out piece from Tower auto where my father worked. What is it really for........I have no clue! They were just laying around and he brought them to me at the shop and asked if I could find a use for them. Amazingly they fit perfectly in the bottom end of a stock cherokee coil. SCORE!
The upper mount was fabed with the same 1/4 steel used for the control arm brackets. They were welded in line with the original shock tower which helped take the guess work out of whether the coil mounts were even on both sides. The original bump stops were used and spaced down a bit to coinside with the shock length and travel. Sorry that I seem to have forgotten to take a pictue of the shock mounts I built as well.
shock mount here
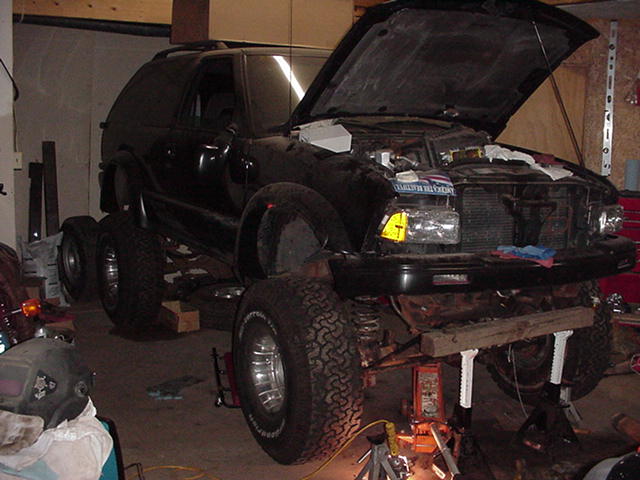
The first time it stood on it's own! I was a proud father that day.